

Crispy Rice Paper Sandwich with Potato and Vegan Cheese

This crispy rice paper sandwich turns a little leftover mashed potato into a warm, cheesy snack. Layers of rice paper hold the filling together while the sandwich press cooks both sides, giving you golden ridges and crisp edges with a soft center.
Sriracha brings a little heat, vegan mayo adds richness, and the whole thing comes together without bread or dough. Also called a rice paper toastie, it is best eaten straight after cooking while the outside still has its crunch.
Table of Contents
Why You’ll Love This Rice Paper Sandwich
- A use for leftover mash: A small amount adds a soft layer inside the crisp wrapper.
- No dough to make: Briefly dampened rice paper forms the sandwich shell.
- Easy to adjust: Choose a vegan cheese that melts well and make the filling as mild or spicy as you like.
How To Make a Rice Paper Sandwich
Tips for Crisp Rice Paper
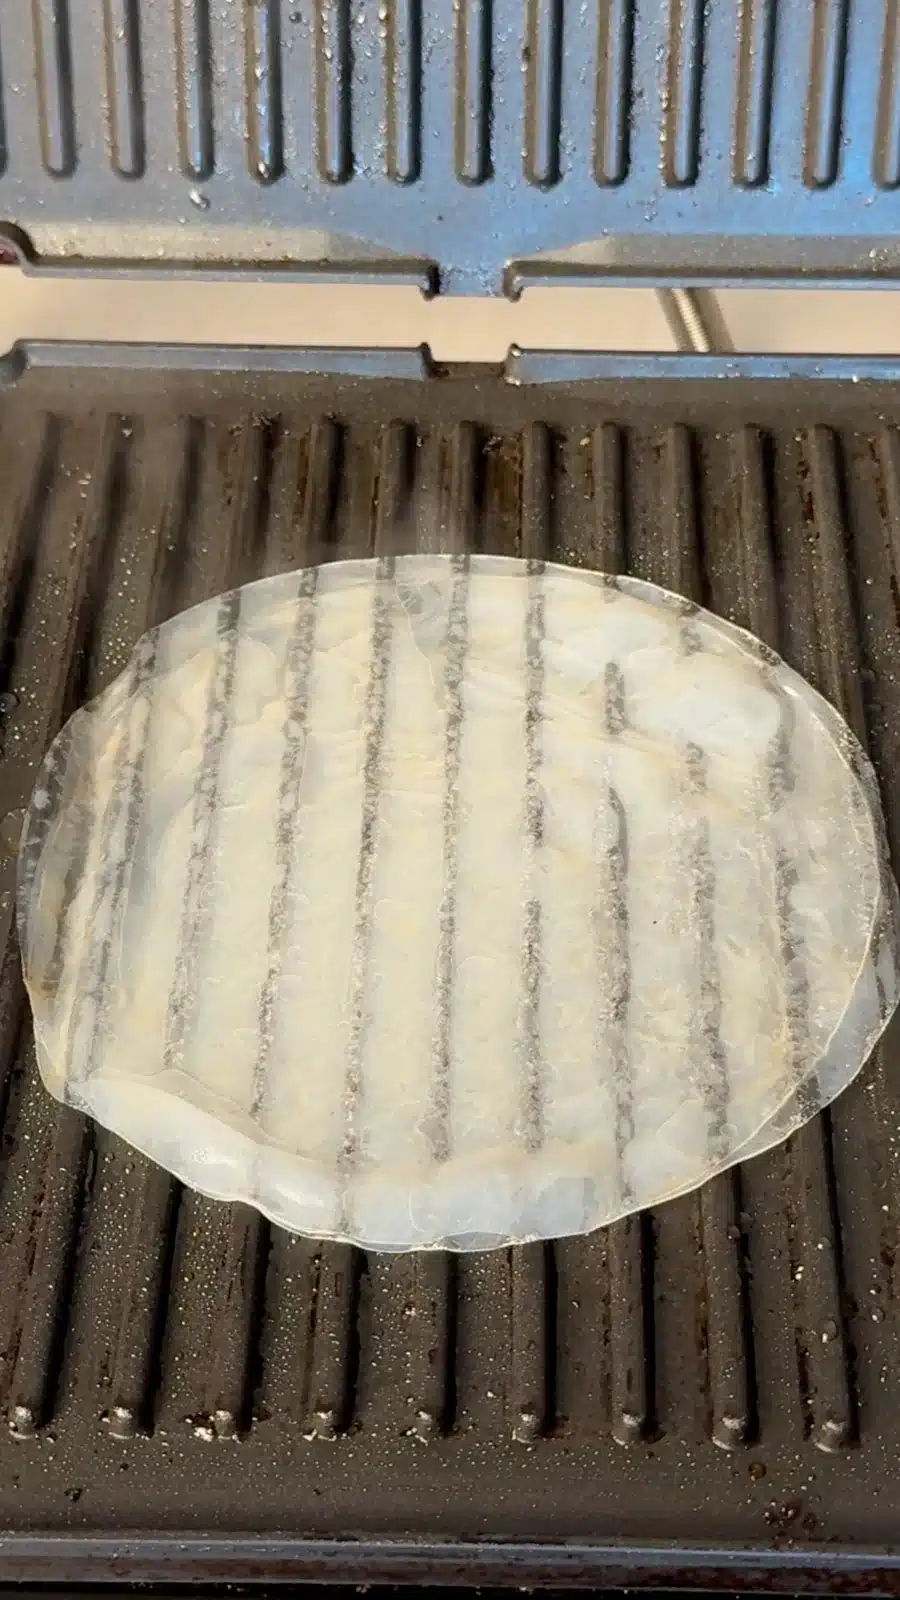
- Wet briefly, rather than soaking: Lift each sheet out while it still feels slightly firm. It continues to soften as you assemble the sandwich. Let excess water drip away.
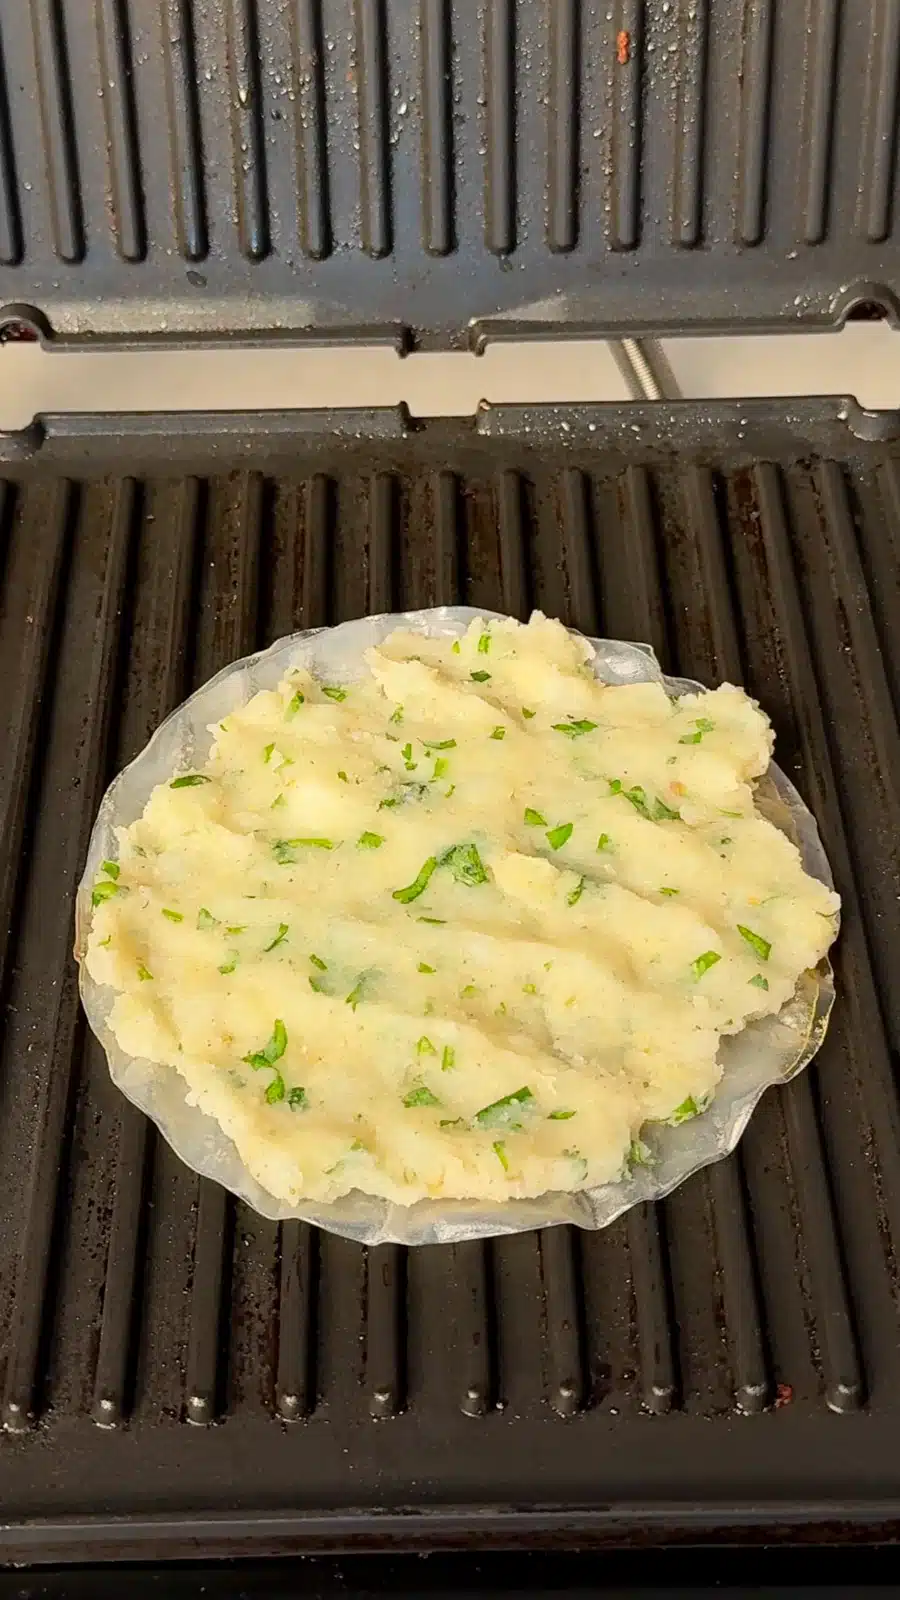
- Keep the filling thin: Spread the mash gently and evenly. Thick piles and filling at the edges make the sandwich harder to close without squeezing anything out.
- Use thick mash: A loose, milky mash brings extra moisture. The filling should hold its shape when spread.
- Let the wrapper release: Use a nonstick press with a light coating of oil. If the top sheet clings when you lift the lid, lower it carefully and let it cook a little longer. Avoid pulling it apart.
- Watch the edges: Rice-paper brands and presses vary. Look for a dry, crisp exterior and golden patches rather than relying only on the clock.
Variations and Serving Ideas
For a milder snack, reduce or leave out the sriracha. A meltable vegan mozzarella gives a milder filling, while vegan cheddar adds a sharper flavor. Chopped herbs can go into the mash, and spring onion makes a fresh finishing touch. Serve the sandwich promptly, cut into wedges, with extra sauce on the side rather than poured over the shell.
Frequently Asked Questions
Use the dry, round rice-paper wrappers sold for spring rolls. Choose a size that fits inside the cooking plates with no edges hanging out. The thin wrapper should be briefly dampened, not soaked until limp.
The double layer gives the wrapper more support around the filling. Keep both sheets evenly dampened and pressed together; excess water between them can leave the center gummy.
Yes, provided they have been stored safely and are still within their original storage life. Thick, smooth mash is easiest to spread. Make sure it is vegan if using leftovers prepared with milk or butter.
Too much soaking water, a wet filling or insufficient cooking can leave the wrapper soft. Drain the sheets, keep the filling thin and cook until the outside is dry and crisp. Some chew beneath the crisp surface is normal, especially with wrappers containing more tapioca starch.
This version is written for a nonstick sandwich press or panini maker. A skillet would need a separate flipping step and different timing, so it is not a tested equivalent here. For a pan-cooked option, try my crispy vegetable rice paper pancake.
It can be, depending on your products. Check that the rice paper, vegan cheese, mayo, sriracha and any toppings are labeled gluten free if needed.
Prepare the filling ahead, but wet and assemble the rice paper just before cooking. The assembled wrapper can soften and stick as it sits. This snack is at its best freshly pressed.
More Rice Paper Recipes
- Crispy Rice Paper Dumplings
- Saucy Rice Paper Dumplings
- Crispy Spiral Rice Paper Dumplings
- Rice Paper Noodles
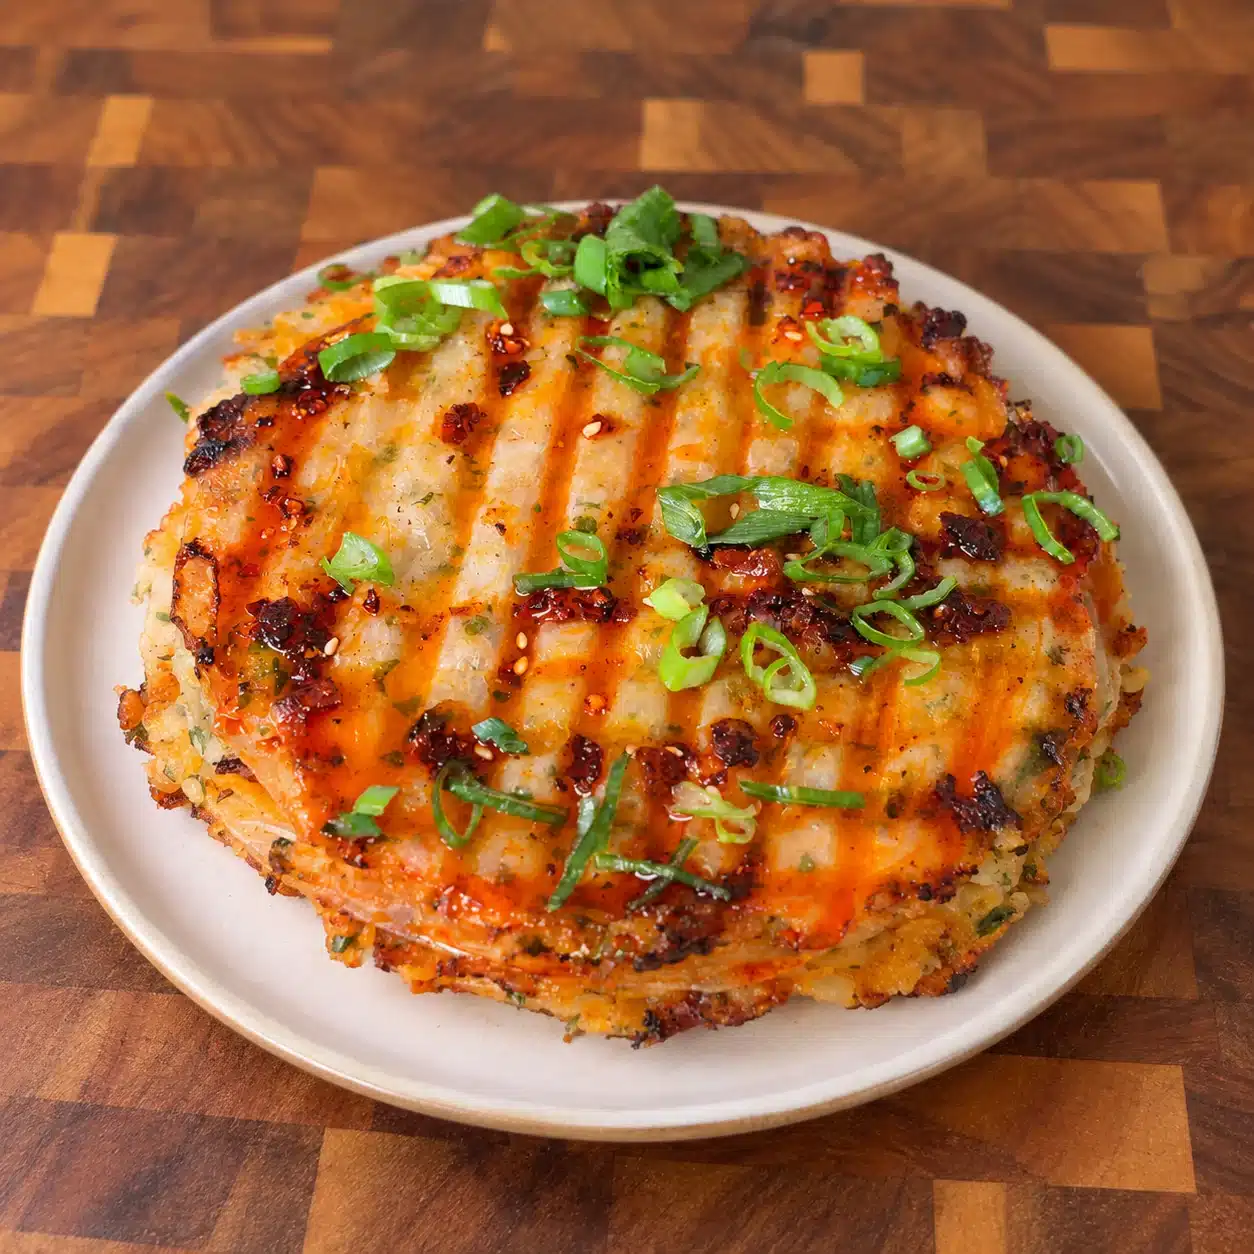
Crispy Rice Paper Sandwich with Potato and Vegan Cheese
Ingredients
Equipment
Method
- Heat the press: Preheat a nonstick sandwich press or panini maker, using medium heat if adjustable. Lightly brush both cooking plates with the oil.
- Prepare the base: Briefly dip two rice-paper sheets individually in room-temperature water, just until wet but still slightly firm. Let excess water drip off, then stack them on the lower plate. Work promptly so the base does not cook before you finish assembling.
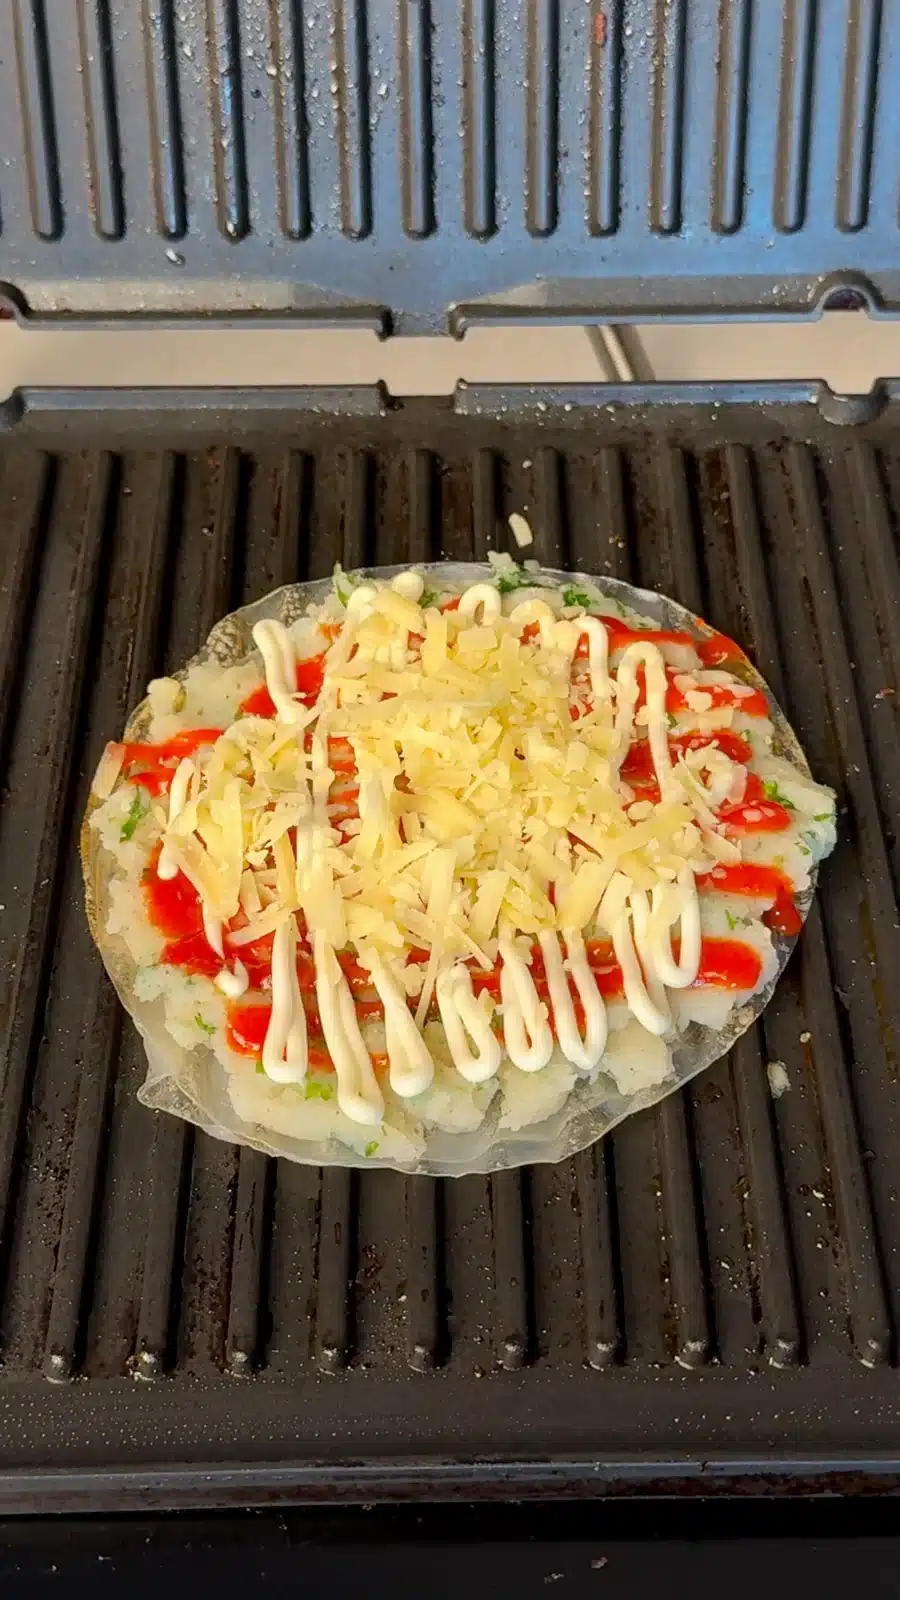
- Add the filling: Taste the mash and season only if needed. Mix in the optional parsley, then gently spread the mash in a thin layer over the rice paper, leaving a ½-inch (1 cm) border. Drizzle with the vegan mayo and sriracha, then scatter over the cheese.
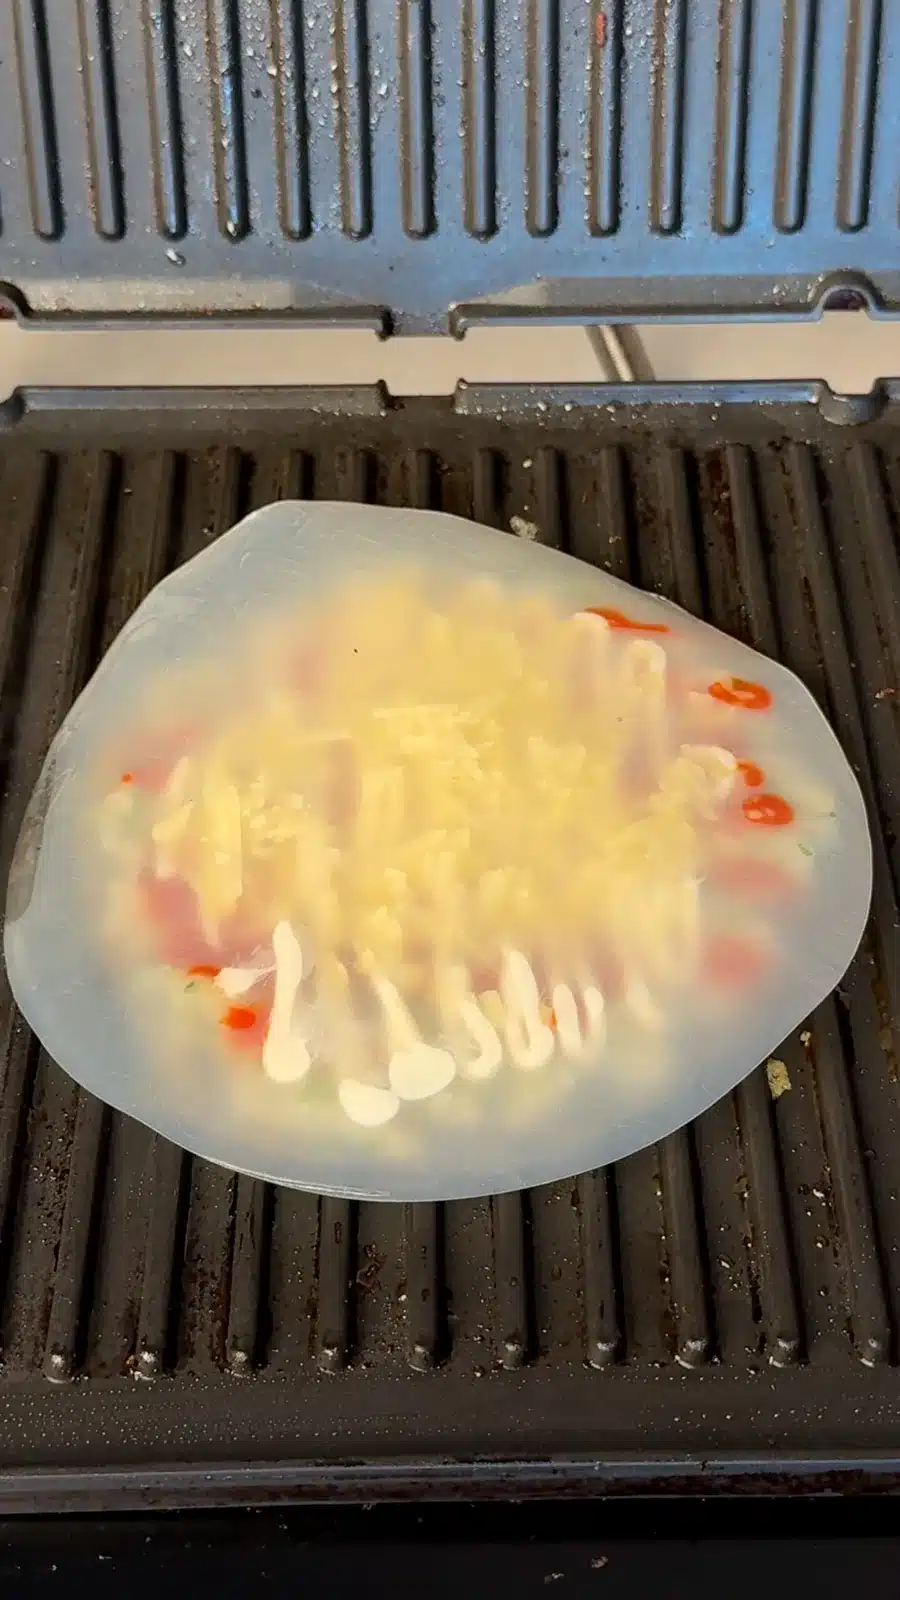
- Cover: Briefly wet the remaining two rice-paper sheets, drain and layer them over the filling. Gently press the damp edges together.
- Cook until crisp: Lower the lid gently without forcing or tightly latching it shut. Cook for approximately 6–8 minutes, checking carefully from 4 minutes, until the wrapper is crisp and golden in patches and the filling is hot. Your press may need more or less time. If the wrapper sticks to the top plate, lower the lid and allow a little more cooking time before gently checking again.
- Serve: Lift out with a nonmetal spatula and rest for 1–2 minutes, then cut into wedges and eat promptly. Finish with the optional spring onion and chili crisp if you like.
Notes
Tried this recipe?
Let us know how it was!THE DR. VEGAN COOKBOOK COLLECTION
Your next favourite dinner is in here
Explore seven digital cookbooks with 200+ plant-based recipes, from quick dinners to comfort food.